Gazebo를 드론 시뮬레이션에 쓸 때 가장 먼저 막히는 부분은 "드론을 어떻게 불러오는가"이다. Gazebo 자체는 world와 model을 실행하는 simulator이고, PX4 SITL은 그 Gazebo world 안에 PX4가 제어할 vehicle model을 올려서 사용한다.
이 글은 PX4 + Gazebo 기준으로 드론 모델을 실행하고, sensor가 붙은 variant를 고르고, world를 바꾸고, model pose를 지정하고, 외부 model을 추가하는 방법을 정리한다.
PX4 드론 시뮬레이션에서 드론을 불러오는 가장 기본 명령은 make px4_sitl gz_x500이다.
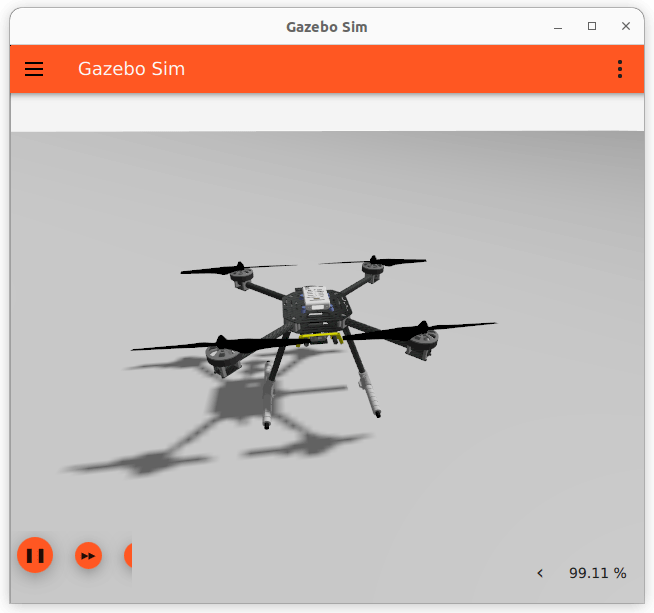
이미지 출처: PX4 Guide - Gazebo Vehicles, X500 Quadrotor
전체 구조
PX4 SITL과 Gazebo를 같이 쓰면 구조는 다음처럼 나뉜다.
ROS2 node / QGroundControl / MAVSDK
  <-> PX4 SITL
  <-> PX4 Gazebo bridge
  <-> Gazebo world
  <-> drone model, sensors, terrain, obstacles
Gazebo는 world, physics, visual, sensor simulation을 담당한다. PX4는 autopilot이다. 따라서 드론을 "움직이는" 명령은 보통 Gazebo가 아니라 PX4에 보낸다. 반대로 camera, lidar, world, model pose 같은 simulation resource는 Gazebo 쪽에서 확인한다.
1. 기본 X500 드론 실행
PX4 repository로 이동한다.
cd ~/PX4-Autopilot
X500 quadrotor를 Gazebo에서 실행한다.
make px4_sitl gz_x500
이 명령은 PX4 SITL과 Gazebo client를 같이 실행한다. Gazebo 창에 X500 quadrotor가 뜨고, PX4 shell이 같이 뜨면 기본 연결은 성공이다. QGroundControl이 설치되어 있다면 simulated vehicle에 자동 연결되는지도 확인할 수 있다.
실행 target 이름은 보통 다음 구조다.
make px4_sitl gz_<vehicle>
예를 들어 gz_x500은 Gazebo용 X500 multicopter model을 의미한다.
2. 센서가 붙은 드론 불러오기
PX4 Gazebo simulation에는 같은 X500이라도 센서가 붙은 여러 variant가 있다.
| 목적 | 명령 |
|---|---|
| 기본 X500 quadrotor | make px4_sitl gz_x500 |
| visual odometry 테스트 | make px4_sitl gz_x500_vision |
| front depth camera | make px4_sitl gz_x500_depth |
| monocular camera | make px4_sitl gz_x500_mono_cam |
| down-facing monocular camera | make px4_sitl gz_x500_mono_cam_down |
| down-facing 1D lidar | make px4_sitl gz_x500_lidar_down |
| front-facing 1D lidar | make px4_sitl gz_x500_lidar_front |
| 2D lidar | make px4_sitl gz_x500_lidar_2d |
| gimbal camera | make px4_sitl gz_x500_gimbal |
Depth camera가 붙은 X500은 다음처럼 실행한다.
make px4_sitl gz_x500_depth
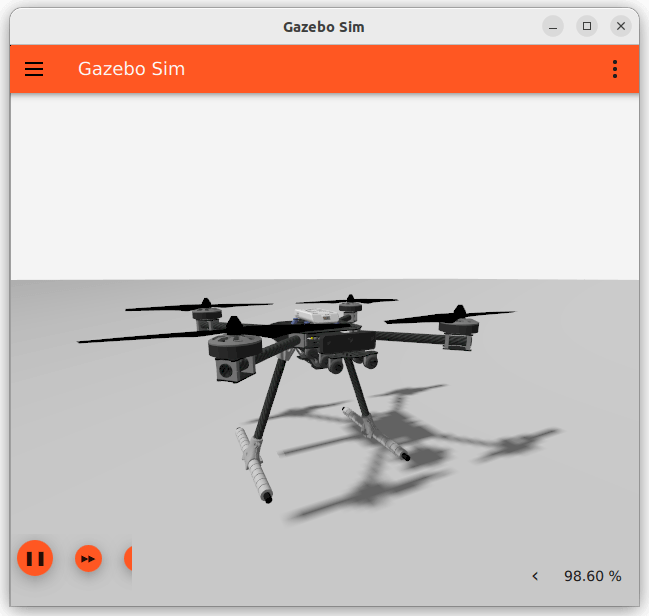
이미지 출처: PX4 Guide - X500 Quadrotor with Depth Camera
2D lidar가 붙은 X500은 다음처럼 실행한다.
make px4_sitl gz_x500_lidar_2d
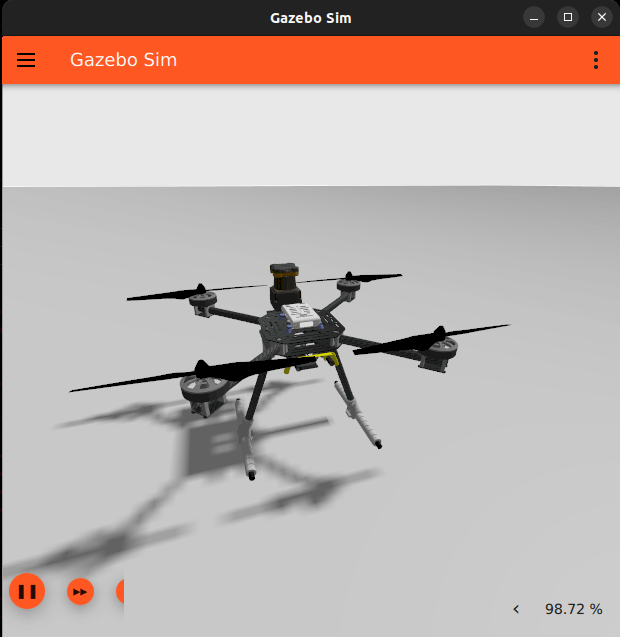
이미지 출처: PX4 Guide - X500 Quadrotor with 2D LIDAR
드론 model을 고를 때는 기체 모양보다 필요한 sensor topic이 무엇인지 먼저 정하는 편이 좋다.
3. World 선택하기
기본 world는 회색 plane만 있는 단순 환경이다. 테스트 목적에 따라 world를 바꿀 수 있다.
가장 간단한 방법은 vehicle target 뒤에 world 이름을 붙이는 것이다.
make px4_sitl gz_x500_windy
또는 환경 변수로 world를 지정할 수 있다.
PX4_GZ_WORLD=windy make px4_sitl gz_x500
PX4 Gazebo에서 자주 쓰는 world는 다음과 같다.
| world | 용도 |
|---|---|
default | 빈 plane |
aruco | precision landing test |
baylands | 넓은 outdoor scene |
lawn | rover 테스트 |
ridge | terrain following |
walls | collision prevention |
windy | wind simulation |
moving_platform | moving takeoff/landing platform |
주의할 점이 있다.
default world는 명시적으로 _default를 붙이지 않는다.
# OK
make px4_sitl gz_x500

# 피하는 편이 좋음
make px4_sitl gz_x500_default
4. GUI 없이 실행하기
리소스를 줄이거나 서버에서 돌릴 때는 headless mode를 쓴다.
HEADLESS=1 make px4_sitl gz_x500
headless mode는 GUI를 띄우지 않기 때문에 OpenGL, display, WSLg 문제를 피하기 쉽다. 반복 실험이나 CI에서는 headless가 더 적합하다.
Gazebo 자체만 server로 실행하는 일반 명령은 다음 형태다.
gz sim -s shapes.sdf -v 4
GUI만 별도 terminal에서 붙일 수도 있다.
gz sim -g
5. Simulation 속도 조절
PX4 SITL + Gazebo는 simulation speed factor를 줄 수 있다.
2배 빠르게 실행한다.
PX4_SIM_SPEED_FACTOR=2 make px4_sitl gz_x500
절반 속도로 실행한다.
PX4_SIM_SPEED_FACTOR=0.5 make px4_sitl gz_x500
현재 shell session 전체에 적용하려면 export한다.
export PX4_SIM_SPEED_FACTOR=2
make px4_sitl gz_x500
실제 가능한 속도는 CPU, GPU, sensor 개수, world 복잡도에 따라 달라진다. camera나 lidar가 많은 model은 단순 X500보다 느려질 수 있다.
6. 드론 spawn 위치 지정하기
PX4 binary를 직접 실행할 때는 PX4_SIM_MODEL과 PX4_GZ_MODEL_POSE로 model과 pose를 지정할 수 있다.
PX4_SYS_AUTOSTART=4001 \
PX4_SIM_MODEL=gz_x500 \
PX4_GZ_MODEL_POSE="0,0,0,0,0,0" \
./build/px4_sitl_default/bin/px4
PX4_GZ_MODEL_POSE 형식은 다음과 같다.
x,y,z,roll,pitch,yaw
단위는 위치가 meter, 각도가 radian이다.
예를 들어 X500을 x=3, y=2 위치에 yaw 90도 방향으로 spawn하고 싶다면 다음처럼 쓸 수 있다.
PX4_SYS_AUTOSTART=4001 \
PX4_SIM_MODEL=gz_x500 \
PX4_GZ_MODEL_POSE="3,2,0,0,0,1.5708" \
./build/px4_sitl_default/bin/px4
여러 기체를 배치하거나 특정 위치에서 테스트할 때는 model spawn pose를 명시적으로 관리해야 한다.
7. Standalone mode로 Gazebo와 PX4 분리 실행
기본 make px4_sitl gz_x500은 PX4와 Gazebo를 함께 띄운다.
분리해서 띄우고 싶으면 standalone mode를 쓴다.
Terminal 1에서 PX4를 standalone mode로 실행한다.
cd ~/PX4-Autopilot
PX4_GZ_STANDALONE=1 make px4_sitl gz_x500
이 상태에서 PX4는 Gazebo server를 기다린다.
Terminal 2에서 Gazebo simulation을 실행한다.
PX4 공식 문서에서는 PX4-gazebo-models repository의 simulation-gazebo script를 사용할 수 있다고 안내한다.
wget https://raw.githubusercontent.com/PX4/PX4-gazebo-models/main/simulation-gazebo
python3 simulation-gazebo
standalone mode는 다음 상황에서 유용하다.
| 상황 | 이유 |
|---|---|
| Gazebo world를 따로 디버깅 | PX4 재빌드 없이 world만 바꿔 확인 |
| remote server 사용 | Gazebo server와 PX4를 별도 terminal/process로 관리 |
| custom model 개발 | model resource path를 직접 관리 |
| multi vehicle 실험 | 여러 PX4 instance와 model name을 분리 |
8. 기존 Gazebo world에 PX4를 붙이기
이미 Gazebo에 model이 떠 있고, PX4 instance를 그 model에 붙이고 싶을 때는 PX4_GZ_MODEL_NAME을 사용한다.
PX4_SYS_AUTOSTART=4001 \
PX4_GZ_MODEL_NAME=x500 \
./build/px4_sitl_default/bin/px4
반대로 PX4 startup script가 새 model을 spawn하게 하려면 PX4_SIM_MODEL을 사용한다.
PX4_SYS_AUTOSTART=4001 \
PX4_SIM_MODEL=gz_x500 \
./build/px4_sitl_default/bin/px4
둘은 동시에 쓰지 않는다.
| 변수 | 의미 |
|---|---|
PX4_SIM_MODEL | Gazebo에 새 model을 spawn하고 PX4를 붙임 |
PX4_GZ_MODEL_NAME | 이미 존재하는 Gazebo model 이름에 PX4를 붙임 |
PX4_GZ_MODEL_POSE | PX4_SIM_MODEL로 spawn할 때 위치와 자세 지정 |
PX4_GZ_WORLD | 새 simulation을 시작할 때 world 지정 |
PX4 문서 기준으로 PX4_GZ_MODEL은 deprecated이고, 새 model spawn에는 PX4_SIM_MODEL을 사용한다.
9. Gazebo Fuel에서 외부 model 넣기
Gazebo에는 Fuel이라는 model repository가 있다. 건물, 장애물, 차량, 환경 object를 가져와 world에 넣을 수 있다.
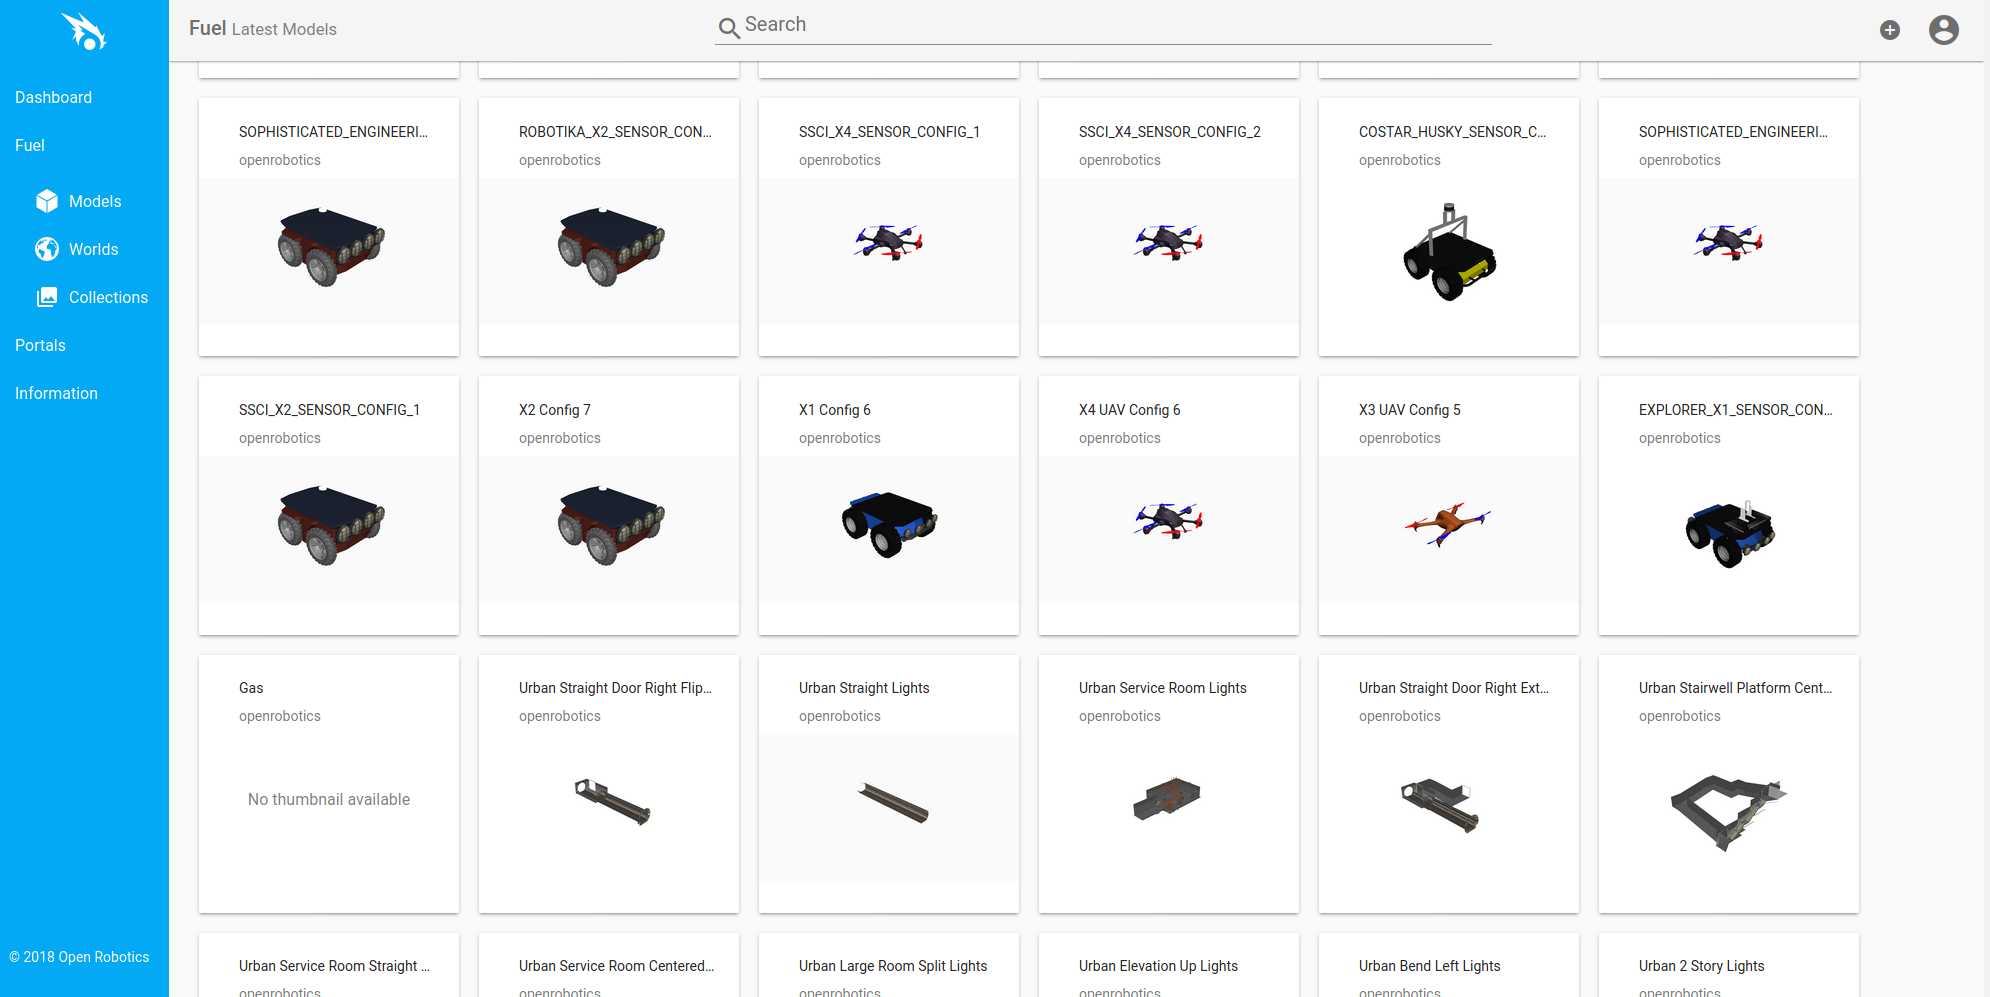
이미지 출처: Gazebo Harmonic - Model Insertion from Fuel
GUI에서 넣는 방법은 다음 흐름이다.
gz sim empty.sdf로 world를 실행한다.- 오른쪽 위 plugin menu에서 Resource Spawner를 연다.
- Fuel resources에서 model을 검색한다.
- cloud icon으로 다운로드한다.
- 다운로드된 model을 scene에 삽입한다.
Resource Spawner 화면은 다음과 같다.
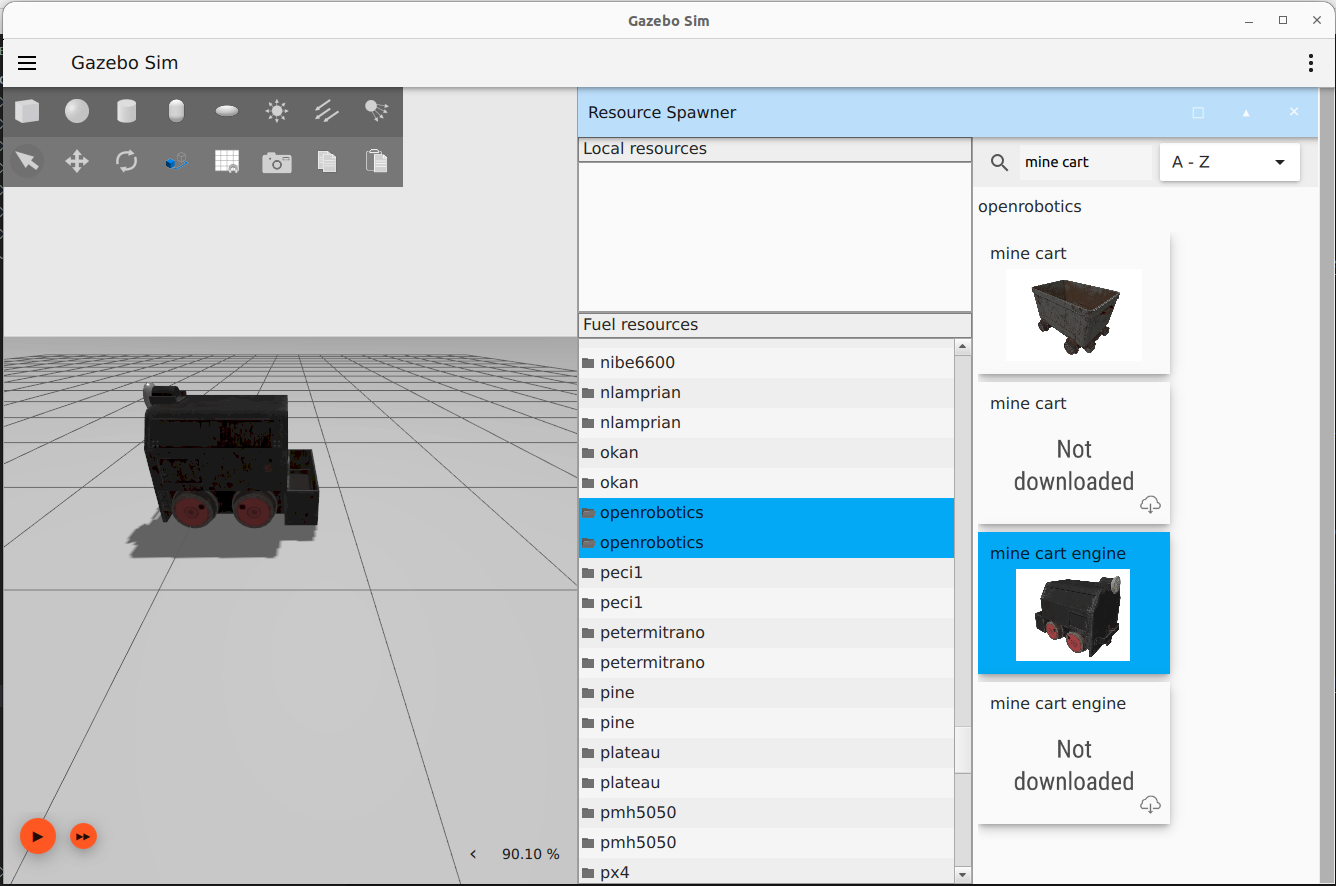
이미지 출처: Gazebo Harmonic - Model Insertion from Fuel
world SDF에 직접 넣고 싶으면 Fuel page에서 SDF snippet을 복사해서 <include>로 추가한다.
<include>
  <uri>
    https://fuel.gazebosim.org/1.0/OpenRobotics/models/Mine Cart Engine
  </uri>
</include>
local model을 관리하려면 model directory를 만들고 GZ_SIM_RESOURCE_PATH에 추가한다.
export GZ_SIM_RESOURCE_PATH=$HOME/my-local-models:$GZ_SIM_RESOURCE_PATH
gz sim my_world.sdf
10. URDF robot을 Gazebo에 spawn하기
ROS에서는 robot description을 URDF 또는 xacro로 관리하는 경우가 많다.
Gazebo Sim에서는 running world의 create service를 호출해서 URDF를 spawn할 수 있다.
먼저 empty world를 실행한다.
gz sim empty.sdf
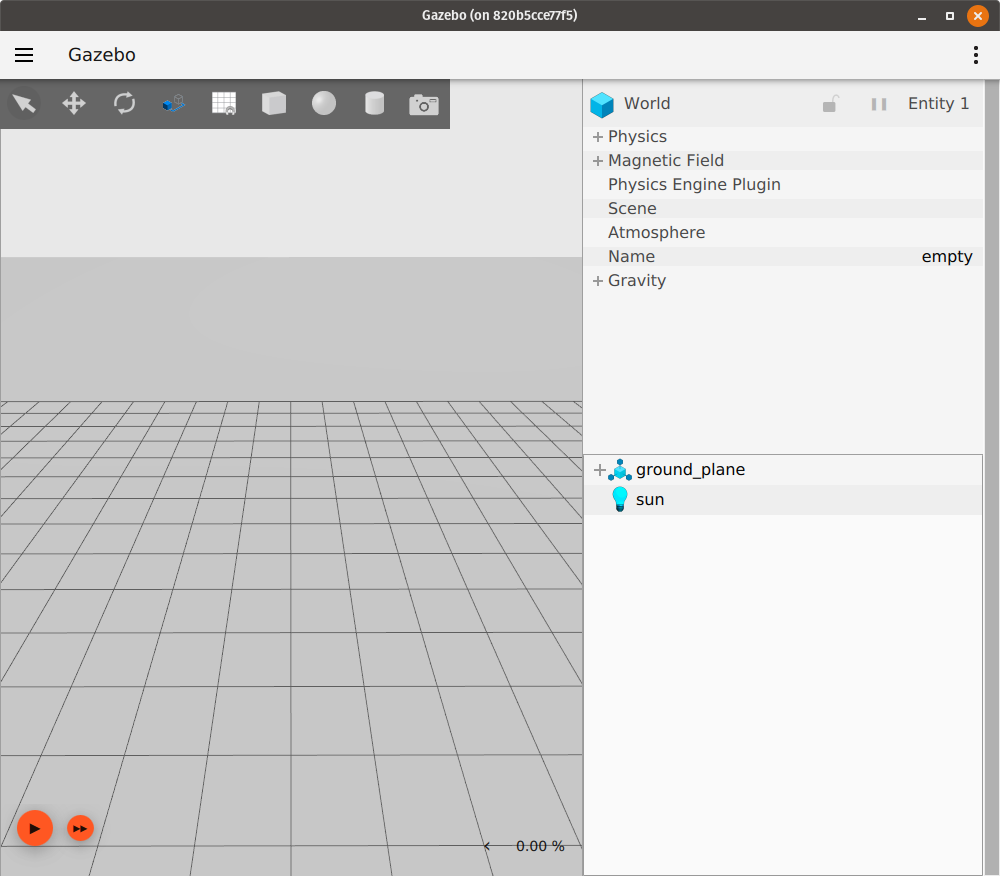
이미지 출처: Gazebo Harmonic - Spawn URDF
다른 terminal에서 create service를 확인한다.
gz service -l | grep create
gz service -is /world/empty/create
URDF를 spawn한다.
gz service -s /world/empty/create \
  --reqtype gz.msgs.EntityFactory \
  --reptype gz.msgs.Boolean \
  --timeout 1000 \
  --req 'sdf_filename: "/path/to/model.urdf", name: "urdf_model"'
spawn이 성공하면 world 안에 URDF model이 올라온다.
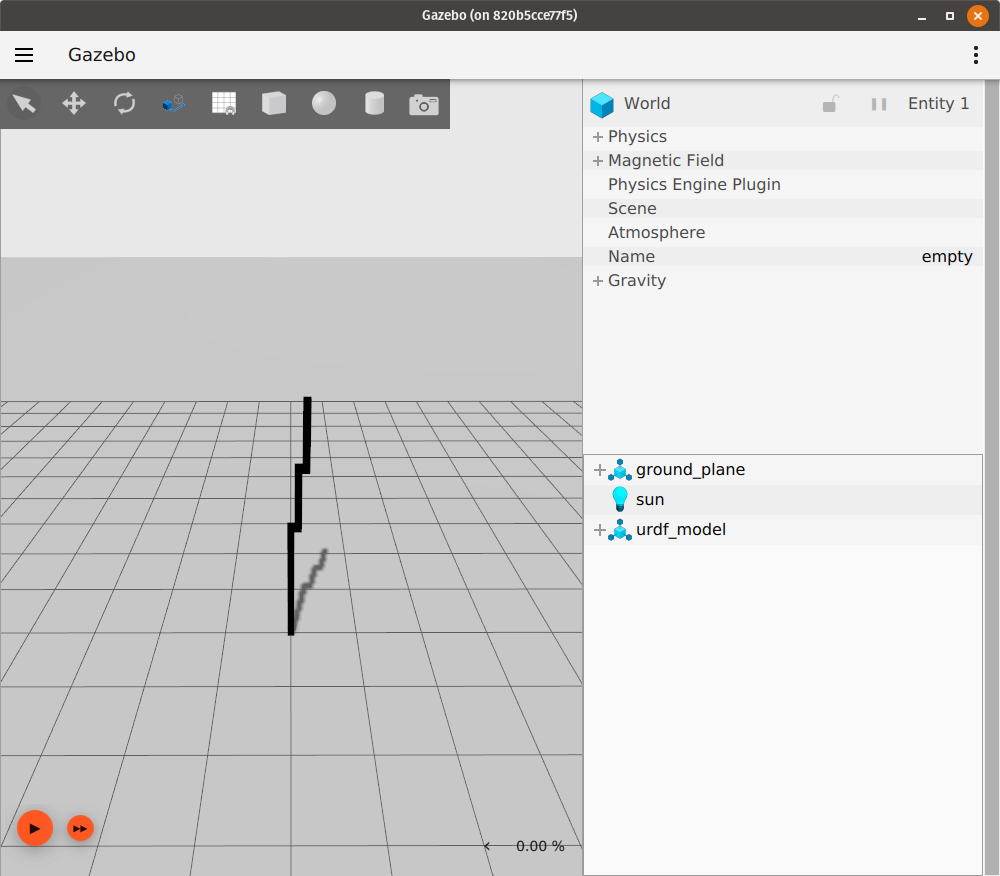
이미지 출처: Gazebo Harmonic - Spawn URDF
URDF는 단일 robot model 표현에 적합하고, world 전체 구성은 SDF가 더 자연스럽다. 따라서 ROS robot은 URDF/xacro로 관리하고, simulation scene은 SDF world로 관리하는 조합을 많이 쓴다.
11. Topic 확인하기
드론이나 sensor model을 띄운 뒤에는 실제 topic 이름을 확인해야 한다.
Gazebo topic 목록을 본다.
gz topic -l
IMU topic을 찾는다.
gz topic -l | grep imu
camera topic을 찾는다.
gz topic -l | grep camera
lidar, scan topic을 찾는다.
gz topic -l | grep -E "lidar|scan"
특정 topic을 echo한다.
gz topic -e -t /clock
PX4 SITL에서는 model 이름, world 이름, sensor plugin 설정에 따라 topic path가 달라질 수 있다.
문서의 topic 이름을 그대로 가정하지 말고, 현재 실행 중인 world에서 gz topic -l로 확인하는 것이 안전하다.
12. ROS2에서 Gazebo sensor 보기
Gazebo topic을 ROS2에서 보려면 ros_gz_bridge를 사용한다.
예를 들어 /clock을 ROS2로 bridge한다.
ros2 run ros_gz_bridge parameter_bridge \
  /clock@rosgraph_msgs/msg/Clock@gz.msgs.Clock
LaserScan을 bridge하는 예시는 다음과 같다.
ros2 run ros_gz_bridge parameter_bridge \
  /scan@sensor_msgs/msg/LaserScan@gz.msgs.LaserScan
topic이 많아지면 YAML로 관리한다.
- ros_topic_name: "/clock"
  gz_topic_name: "/clock"
  ros_type_name: "rosgraph_msgs/msg/Clock"
  gz_type_name: "gz.msgs.Clock"
  direction: GZ_TO_ROS

- ros_topic_name: "/scan"
  gz_topic_name: "/scan"
  ros_type_name: "sensor_msgs/msg/LaserScan"
  gz_type_name: "gz.msgs.LaserScan"
  direction: GZ_TO_ROS
PX4 제어 topic과 Gazebo sensor topic은 구분해서 다룬다. 제어는 PX4 경로, simulated sensor 확인은 Gazebo/bridge 경로를 쓴다.
실전 순서
드론 simulation을 구성할 때는 다음 순서가 가장 덜 헷갈린다.
make px4_sitl gz_x500으로 기본 X500이 뜨는지 확인한다.- 필요한 sensor에 맞춰
gz_x500_depth,gz_x500_lidar_2d같은 variant를 고른다. PX4_GZ_WORLD=windy make px4_sitl gz_x500처럼 world를 바꿔 본다.- 반복 실험은
HEADLESS=1로 실행한다. - spawn 위치가 중요하면
PX4_GZ_MODEL_POSE를 명시한다. - 장애물과 환경 object는 Fuel 또는 local SDF model로 world에 추가한다.
gz topic -l로 sensor topic을 확인한다.- ROS2에서 필요할 때만
ros_gz_bridge로 topic을 연결한다.
Gazebo에서 드론을 불러오는 작업은 결국 세 가지를 정하는 일이다. 어떤 vehicle model을 쓸지, 어떤 world에서 띄울지, PX4와 Gazebo를 함께 실행할지 따로 실행할지 정하면 된다.